How to Organize Your Physical Storage with Palstora
A practical guide to cataloging your cabinets, toolboxes, and rooms using Palstora's recursive storage system.
The easiest way to organize physical storage is to start with one idea: grouping. Instead of keeping a flat list of everything you own, create a structure that reflects how your belongings actually exist in the world.
Palstora lets you build that structure recursively. A house can contain rooms, a room can contain a cabinet, a cabinet can contain boxes, and each box can contain more boxes or individual items.
Build groups that match real life
Open the Palstora dashboard and start with the largest useful container. For example, you might create House, then add Garage, Storage Room, or Bedroom beneath it. Inside those spaces, add the real boxes, cabinets, drawers, and shelves where your belongings live.
The goal is not to invent a complicated digital taxonomy. Your Palstora structure should make sense when you are standing in front of your physical storage:
- House
- Garage
- Cabinet A
- Blue Toolbox
- Wrench set
- Blue Toolbox
- Cabinet A
- Garage
- Apartment
- Hallway closet
- Winter clothes box
- Hallway closet
With Palstora's recursive storage model, a box can contain another box or any number of items. There is no need to flatten your storage into one long list, and you can search across the entire hierarchy when you need something.
Connect digital boxes to physical boxes
Once you create a box in Palstora, make it easy to recognize in the real world. The simplest option is to write its name directly on the box with a marker. A label such as Holiday decorations or Power tools is often all you need.
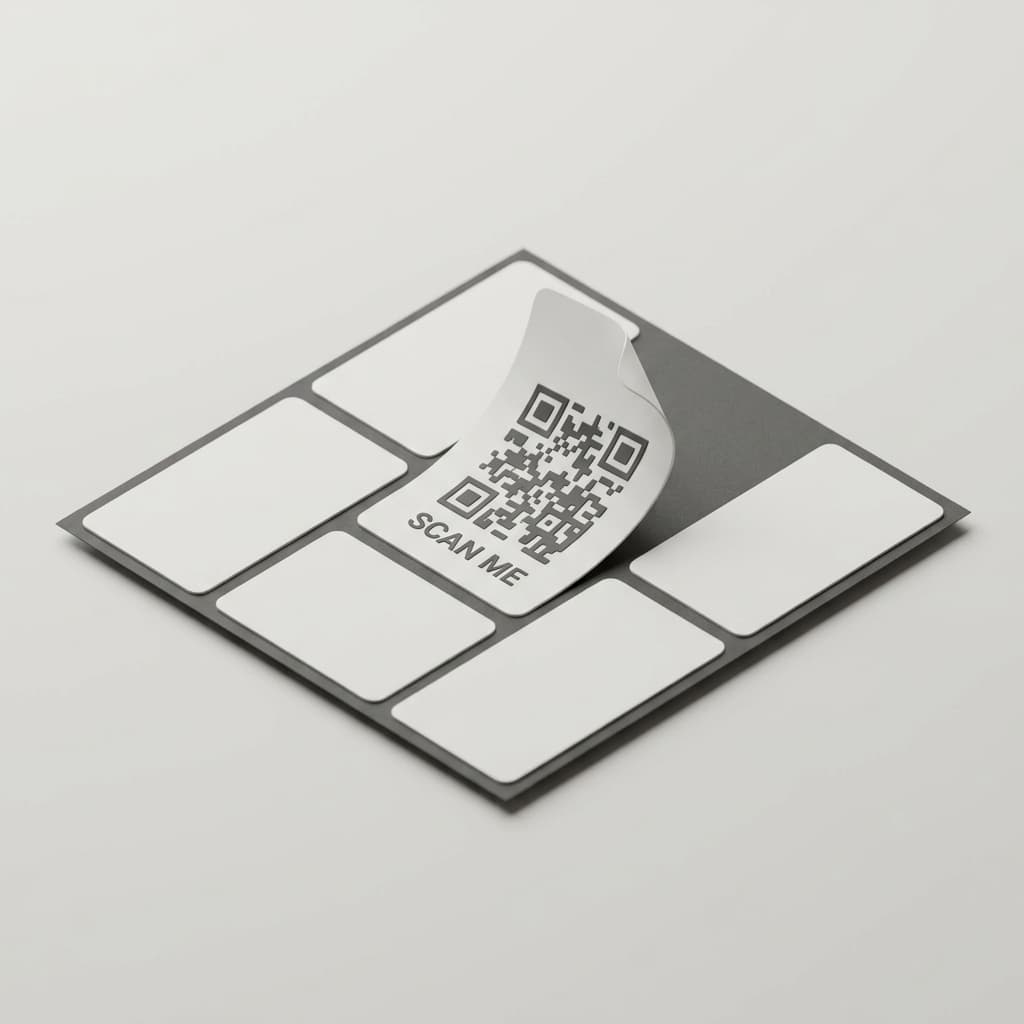
For a faster lookup, connect the box to Palstora with a QR code. Palstora lets you print QR labels with the box name directly, for free. Put the label on the outside of the physical box, scan it when you need to check its contents, and keep the digital and physical versions connected.
Add items with a photo
After your groups are in place, start filling them with items. Point your camera at an item and let Palstora's AI scan it for you in seconds. You do not need to stop and build a detailed entry for every object before moving on.
With Palstora's rapid camera system, you can add items every second: point, shoot, and continue. That makes it practical to catalog a full box in one session, while many home inventory apps can take up to 30 seconds to add a single item.
Share the system with your family
Once your storage structure is built, share it with your family. Everyone can see which room, cabinet, or box contains an item instead of asking one person where everything is.
The more your household uses the same structure, the easier it becomes to put things back in the right place and find them again later. You can also compare Palstora plans if you need more items, scans, or shared workspaces.
Start with one room or one storage box. If you want a smaller first task, use the guide to 5 things you can catalog right now.
Explore Palstora
Move from this guide into the product pages that explain the storage model, capabilities, pricing, and support paths.
Related articles
home-inventory
How to Create a Home Inventory System
A practical guide to decluttering, mapping your home, and creating an inventory system that helps you find and maintain everything you own.
qr-codes
How QR Code Storage Makes Your Day Easier
Use QR codes to see what is inside storage boxes, keep your home inventory accessible, and add new items without unpacking everything.